Media Production
CLEAR offers a full range of FREE media production services to UNT faculty for online course creation and enhancement.

VideoNow from DSI
Video Now is DSI CEAR's self-serve video production studio, specifically designed
for faculty to help you create professional-quality videos on your own. Walk in with
ideas. Walk out with course-ready videos!
Audio, Video, and Photography Production
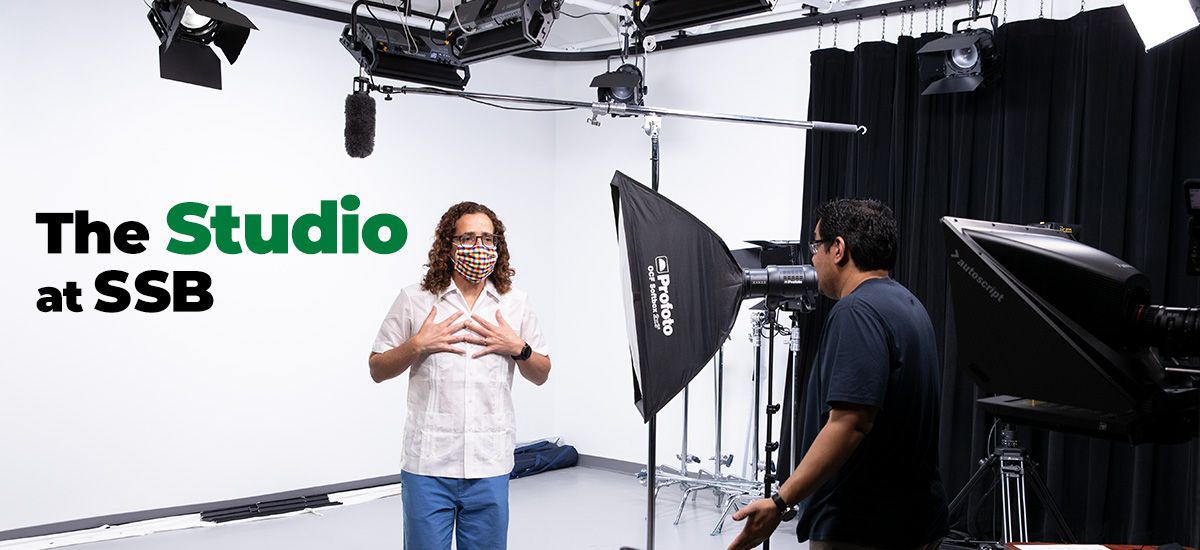 CLEAR’s media production unit has the ability to record audio voice overs, shoot video
and photography (both in studio and, in many cases, on location), create motion graphics,
and edit video.
CLEAR’s media production unit has the ability to record audio voice overs, shoot video
and photography (both in studio and, in many cases, on location), create motion graphics,
and edit video.
Our full-production media services are reserved for instructional media to be used in online UNT for-credit courses or for CLEAR-sponsored projects and events. We do not record student presentations or classroom lectures.
Turn-around time for projects will vary depending on the scope of your project and the length of our production queue.
Subject Release Form
When using another person's voice, image, words, or work, it is necessary to have them sign a release form. You should keep the signed form in a secure place for legal purposes.
Click to view the PDF UNT System Permission, Waiver and Release document.
Graphic Design and Illustration
The CLEAR production team creates graphics for both physical and digital projects. Most often our work helps enhance the visual appeal of UNT’s many online courses to engage learners in ways plain text on the screen cannot.
Turn-around time for projects will vary depending on the scope of your project and the length of our production queue.
Click here to learn how to resize and rotate images in Canvas.
Audio/Video Equipment Checkout and Recording Tips
A/V Recording Tips
Appearance
- Dress comfortably so you feel relaxed in front of your students, but you want to maintain a professional appearance for the part of you that will be on camera.
- Avoid fabrics with distracting patterns that may draw attention away from your recordings.
- Bring your energy, enthusiasm, and personality to your recordings.
- Use gestures that you would typically use in person and remember to sit up straight.
Camera Placement
- Place the camera at eye-level or slightly higher to give yourself a flattering view.
- Do not sit too close to the camera.
- Look at the webcam and not your computer screen. Viewers feel more engaged when you look directly at the camera.
Framing/Composing the Shot
- Place yourself in the middle of the screen. Newer webcams have autofocus, and not being in the middle of the frame may confuse the camera and result in out of focus or blurry video.
- The webcam should be placed far enough away to see your shoulders and your entire face with some room to spare.
- Keep the background simple and avoid anything too busy looking or cluttered. Choosing a blank wall as your backdrop often works best.
Lighting
- Use soft lighting such as a lamp with a shade. Try to avoid using side lights as this will cause distracting shadows. Consider bouncing light from a wall or the ceiling to give a diffused lighting look.
- For desk lamps, tape white sheets of paper in front of the bulb to diffuse the light. Lighting should come from in front of you.
- Don't use your computer monitor as a light source, especially if you wear glasses. Your screen will cast a blue hue on your face and reflect off your glasses, obscuring your eyes.
- Do not sit with a window behind you: the bright light from outside can make your image underexposed or the window overexposed.
- If you are able to set a white balance on your webcam please do so. Enabling the auto white balance on your camera will result in color/lighting shifts and will result in a poorly lit video.
Audio
- Use a USB microphone/headset for improved audio quality.
- Record in either Wav or MP3 format for audio-only recordings. Both formats are the most accessible to your students.
- The audio on your webcam is OK but most do not have a noise-cancelling feature. This means noise from the room will be picked up by the microphone and possibly amplified. If there are audio meters or levels, be sure they are not set too low in order to hear your voice, or not set too high as it will distort your audio.
- Place a sign on your door to let others know you're recording. Keep the room quiet and free of audio distractions such as music, cell phones, or any other machines that may cause noise.
- If you have pets, please make sure they are not in the room when you are recording. There is not a filter to take out pet sounds. Please make sure pets are not close to your room as well such as in the next room or outside by the window.
- When recording audio directly to a mobile device please give yourself a distance of 6-7 inches between you and your device.
- If you’re recording just audio, you can consider recording in a closet. The clothes in the closet will act as a sound barrier and will produce great results.
Additional Considerations
- If you're using a laptop, make sure it's plugged into a power source and set to high-performance mode. Certain laptops enter a mode which allows for extended battery life. This may cause reduced graphics card capabilities or reduced CPU usage.
- Always do a practice or sample recording to ensure functionality of all equipment. This will also allow you to critique your video project and make any necessary changes.
- Clean your webcam lens with a soft cloth such as a t-shirt before each recording.
- When you’re exporting your finished video project, export the video file in .MOV or .MP4 file format. These are the most widely used formats for viewing videos.
Resources
- 7 Tips For Making Webcam Videos Look Good (And Pants Are Optional)
- Advanced Tips: Shoot QUALITY Videos with a Webcam! (YouTube)
Canvas Tips
Learn to resize and rotate images in Canvas.
VideoNow from DSI
Video Now is DSI CEAR's self-serve video production studio, specifically designed
for faculty to help you create professional-quality videos on your own. Walk in with
ideas. Walk out with course-ready videos!
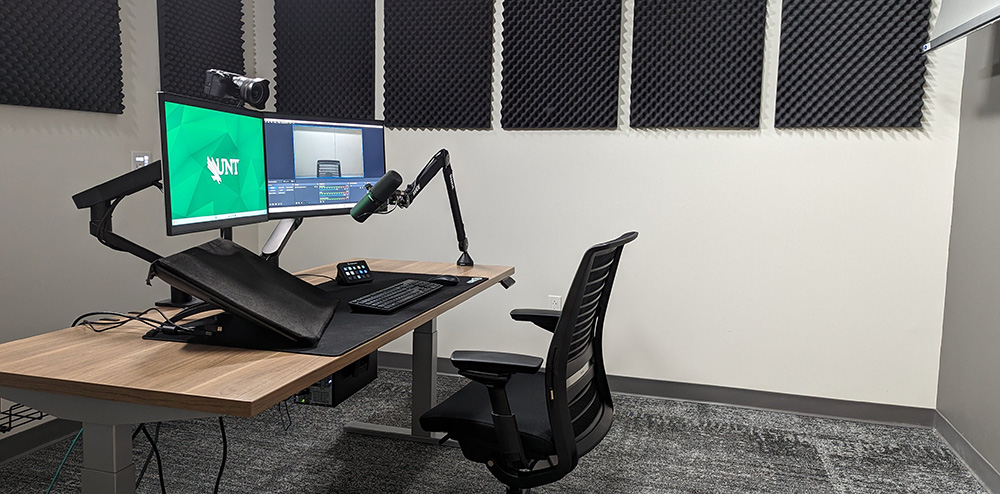 Video Now offers a range of powerful features including:
- Crystal Clear Video Capture
- High-Quality Audio Capture
- Real-Time Screen Recording
- Large Drawing Tablet Capture
- PowerPoint Integration
- Zoom Integration
- Picture-in-Picture Feature to Showcase Additional Content
Related Links
- Multimedia Equipment and Recording Studio
- Copyright Support
- Instructional Technologies